
In this post, I will show you how to install a Minecraft server on a Linux server.
Table of Contents:
- Step 1: Set up a user account
- Step 2: Log in to the user account
- Step 3: Install Java
- Step 4: Download the Minecraft server software
- Step 5: Start the Minecraft server
- Step 6: Run the server on screen
- Step 7: Add more RAM
- Step 8: Optimize your Minecraft server
- Step 9: Connect to your Minecraft server
- Consider a Minecraft hosting service
- Conclusion
Step 1: Set up a user account
It’s best practice to create a separate user account to run your Minecraft server. To create a new user account, log in to your server as the root user and run the following command:
adduser minecraft
usermod -aG sudo minecraft
This will create a new user account named “minecraft“. Follow the prompts to set a password and complete the setup.
Step 2: Log in to the user account
You can log in to it by running the following command:
su - minecraftAdvertisements
You will now be in the home directory of the “minecraft” user.
Step 3: Install Java
Minecraft servers require Java to run, so the first thing we need to do is install Java. Run the following command to install the default version of Java:
sudo apt-get update
sudo apt-get install default-jre
if you are going to run the latest versions of Minecraft (1.18 to latest) install Java 17:
sudo apt-get update
sudo apt install openjdk-17-jdk
Step 4: Download the Minecraft server software
You can choose to download any of the following server software:
To download any of these server software, run:
sudo wget <download link> -O /home/minecraft/<server software file name>For example, to download the Purpur server software:
sudo wget https://api.purpurmc.org/v2/purpur/1.20.2/2082/download -O /home/minecraft/purpur.jarStep 5: Start the Minecraft server
Once you have downloaded the server software, you can start the Minecraft server:
java -Xms1G -Xmx1G -jar /home/minecraft/<server software file name>Replace “server software file name” with the name of the server software file you downloaded in Step 4. The “-Xms1G” and “-Xmx1G” flags set the minimum and maximum amount of RAM allocated to the server, respectively. You can adjust these values depending on your Server’s available resources.
When you start a Minecraft server for the first time, you may encounter an error message that says “You need to agree to the EULA in order to run the server.” This is because the Minecraft EULA requires server operators to agree to its terms before running the server. To accept the EULA run the following command:
echo "eula=true" > eula.txtStep 6: Run the server on screen
It’s recommended to run the server on a screen session so you can detach from the session and leave the server running in the background. To start a screen session and run the server:
sudo apt install screen
screen -S minecraft
java -Xms1G -Xmx1G -jar /home/minecraft/<server software file name>
This will start a new screen session named “minecraft” and start the Minecraft server inside the session. To detach from the session, press “CTRL+A” and then “D“.
You can use this command to reattach to the screen:
screen -r
Step 7: Add more RAM
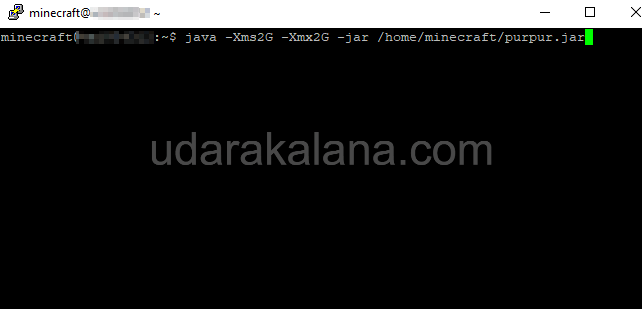
If you want to add more RAM to your Minecraft server, you can do so by editing the startup command in Step 5. For example, if you want to allocate 2GB of RAM, you can change the command to:
java -Xms2G -Xmx2G -jar /home/minecraft/<server software file name>Step 8: Optimize your Minecraft server
To optimize your Minecraft server and prevent lag, you can follow this:
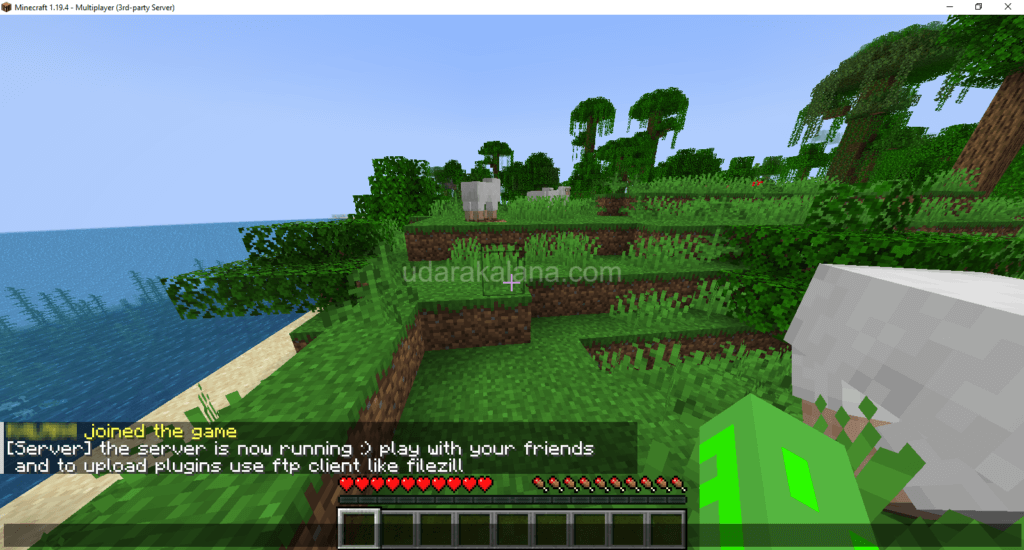
Step 9: Connect to your Minecraft server
To connect to your Minecraft server, launch Minecraft on your local computer and select “Multiplayer” from the main menu. Click “Add Server” and enter the IP address of your server and the port number of your Minecraft server (default is 25565). Click “Done” and then “Join Server” to connect to your Minecraft server.
Consider a Minecraft hosting service
While a Linux server is a great option for hosting a small Minecraft server with up to 10 players, it may not be the best choice for larger servers with a bigger player base. VPS providers often have lower-end CPUs that can struggle to keep up with the demands of a larger Minecraft server, leading to lag and poor performance.
Advertisements
If you find that a Linux VPS isn’t meeting your needs, you may want to consider a dedicated server for better performance. However, if you’re on a tight budget, you can also look into Minecraft hosting providers that offer affordable plans.
Conclusion
setting up a Minecraft server on a Linux server is a great way to play Minecraft with your friends and family. By following the steps outlined in this post, you can easily set up your own Minecraft server and enjoy the game without any limitations.
If you have any questions or run into any issues while following these steps, feel free to leave a comment.


