
In this post, i will show you how to install Lychee on a Linux server with Let’s Encrypt
Table of Contents:
- Step 1: Setting up a Linux Server
- Step 2: Installing Required PHP Extensions and Configuring PHP
- Step 3: Creating a MySQL Database and User
- Step 4: Installing Lychee
- Step 5: Installing Let’s Encrypt SSL Certificate
- Conclusion
Step 1: Setting up a Linux Server
First, you’ll need to set up a Linux server. You can choose any hosting provider that meets your needs. after that Connect to your server via SSH
Step 2: Installing Required PHP Extensions and Configuring PHP
Before installing Lychee, you’ll need to install the required PHP extensions and configure PHP to meet the recommended settings.
Update the package list and install the necessary packages:
sudo apt update
sudo apt install apache2 mariadb-server php7.4 php7.4-mysql php7.4-curl php7.4-gd php7.4-json php7.4-mbstring php7.4-mysqli php7.4-zip php7.4-exif
Edit the PHP configuration file:
sudo nano /etc/php/7.4/apache2/php.iniAdvertisements
Change the following settings:
max_execution_time = 200
post_max_size = 100M
upload_max_filesize = 20M
memory_limit = 256M
Save the changes and exit the editor.
after making changes to the php.ini file, you will need to restart the Apache web server to apply the changes:
sudo systemctl restart apache2Step 3: Creating a MySQL Database and User
Create a MySQL database and user for Lychee:
Log in to MySQL:
sudo mysql -u rootCreate a new database:
CREATE DATABASE lychee;Create a new user and grant privileges to the database:
CREATE USER 'lycheeuser'@'localhost' IDENTIFIED BY 'password';
GRANT ALL PRIVILEGES ON lychee.* TO 'lycheeuser'@'localhost';
FLUSH PRIVILEGES;
Replace lycheeuser and password with your username and password.
Exit MySQL:
exitStep 4: Installing Lychee
Download the latest version of Lychee:
wget https://github.com/electerious/Lychee/archive/master.zipExtract the downloaded archive:
unzip master.zipMove the extracted Lychee directory to the Apache:
sudo mv Lychee-master/* /var/www/html/Set the correct permissions on the Lychee directory:
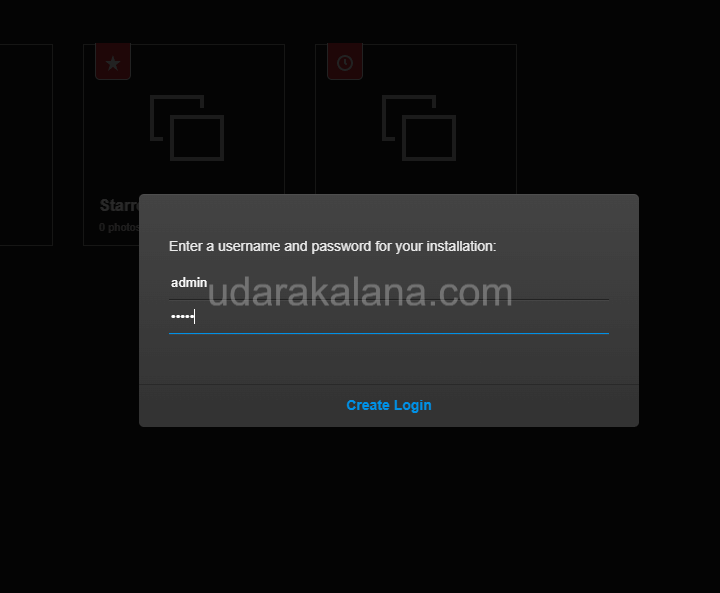
sudo chown -R www-data:www-data /var/www/html/Navigate to your Lychee installation (enter your server IP in the URL bar) in your web browser and follow the installation wizard.

Step 5: Installing Let’s Encrypt SSL Certificate (remember to point A record from your domain to the Server)
Now that you’ve installed Lychee, it’s time to secure your installation with a Let’s Encrypt SSL certificate.
Install the Certbot:
sudo apt install certbot python3-certbot-apacheGenerate the Let’s Encrypt SSL certificate:
sudo certbot --apache -d example.comReplace example.com with your own domain name (you can use a sub-domain if you want). and Follow the Certbot prompts

Remember to select 2 Once the SSL certificate has been generated, Certbot will automatically configure Apache to use it
Test your SSL configuration by navigating to your Lychee installation using HTTPS (e.g., https://example.com or https://sub.example.com)
Finally, set up a cron job to automatically renew your Let’s Encrypt SSL certificate:
sudo crontab -eAdvertisements
Add the following line to the end of the crontab file:
0 0 * * 0 certbot renew --quietThis will run the Certbot renewal command auto.
And that’s it! You should now have a fully-functional Lychee installation secured with a Let’s Encrypt SSL certificate. If you encounter any issues during the installation process, let me know by commenting to this post.

Conclusion
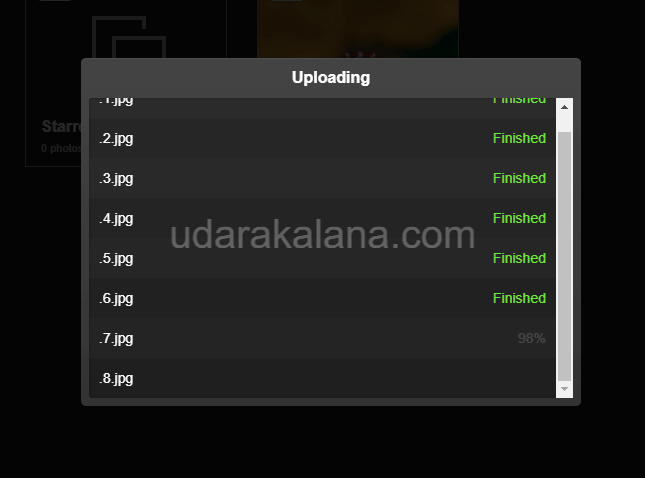
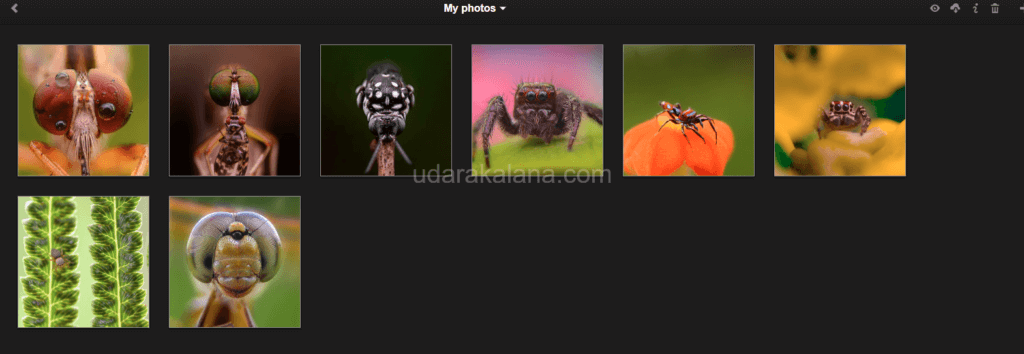
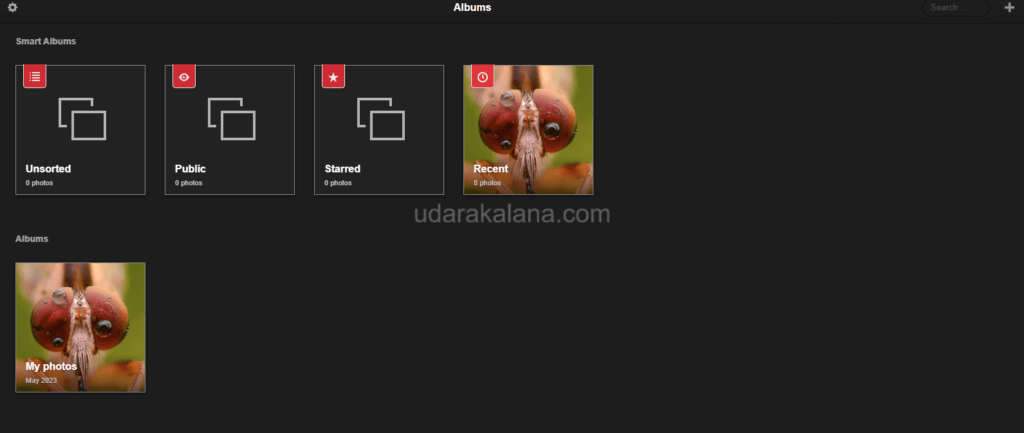
By following the steps outlined in this post, you can install Lychee on your Linux server with ease, including enabling HTTPS with Let’s Encrypt SSL and installing the required PHP extensions. With Lychee’s simple interface, you can easily upload and manage your photos, create albums, and share.


