
In this post, I will show how to install Redis on your Linux server and install the Redis Cache plugin for WordPress.
Table of Contents:
- What is Redis and Why Use it with WordPress?
- Step 1: Connect to Your Linux Server
- Step 2: Install Redis
- Step 3: Configure Redis
- Step 4: Install and Configure the Redis Cache Plugin for WordPress
- Step 5: Verify Redis Integration
- Conclusion
What is Redis and Why Use it with WordPress?
Advertisements
Redis can serve as a caching layer for your WordPress site. It stores data in memory, allowing for reducing the load on your database server. By using Redis, you can cache database queries, objects, and even full-page output, resulting in faster page load times.
Step 1: Connect to Your Linux Server
Make SSH connection to your Linux server. You can use a tool like PuTTY (for Windows) or the terminal (for Linux and macOS) to connect to your server.
Step 2: Install Redis
update the server:
sudo apt update
sudo apt upgrade
install Redis:
sudo apt install redis-serverStep 3: Configure Redis
Redis should start automatically. However, it’s important to configure a few settings to optimize its performance. Open the Redis configuration file using a text editor:
sudo nano /etc/redis/redis.confInside the configuration file, make the following changes:
- Uncomment the line that starts with
supervisedand set its value tosystemd.

- Uncomment the line that starts with maxmemory and set an appropriate value to limit Redis memory usage (e.g., 256mb for a server with limited resources).

- Save the changes and exit the text editor.
Restart the Redis service to apply the configuration changes:
sudo systemctl restart redisStep 4: Install and Configure the Redis Cache Plugin for WordPress
- Log in to your WordPress admin dashboard.
- Go to “Plugins” -> “Add New.”
- Search for “Redis Object Cache” and click “Install Now”.
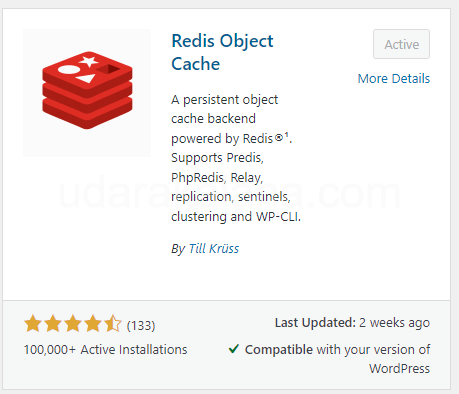
- Once the installation is complete, click “Activate” to enable the plugin.
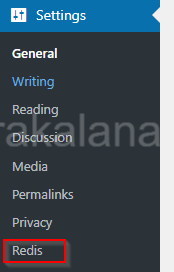
- Go to “Settings” -> “Redis” to configure the plugin.
Step 5: Verify Redis Integration
Advertisements
To verify that Redis is successfully integrated with WordPress, follow these steps:
- Go to the Redis plugin settings page in your WordPress admin dashboard.
- Go to the “Status” section.
- If the status shows “Connected,” Redis is working correctly.
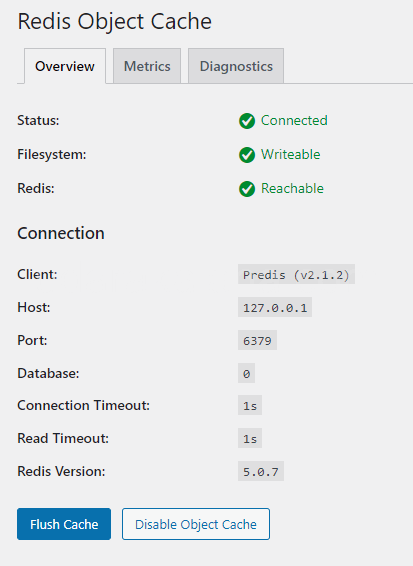
- You can also check the “Metrics” section to see cache hit rates and usage.
Conclusion
You have successfully installed Redis on your Linux server and configured the Redis plugin for WordPress. You can significantly improve your site’s performance. Redis provides efficient in-memory caching, reducing the load on your database and speeding up page load times.


