
In this post, I’ll show you how to install WordPress on a Linux server and add a domain and SSL certificate to your site. Recommend using Ubuntu or Debian to install this setup
Table of Contents:
- Step 1: Connect to your server
- Step 2: Install Apache
- Step 3: Install MySQL
- Step 4: Create a MySQL database for WordPress
- Step 5: Install PHP
- Step 6: Install WordPress
- Step 7: Point Domain to the Server
- Step 8: Install SSL Certificate
- Step 9: Access WordPress
- Conclusion
Step 1: Connect to your server
To get started, connect to your Linux server using SSH.
Step 2: Install Apache
sudo apt-get update
sudo apt-get install apache2
For CentOS:
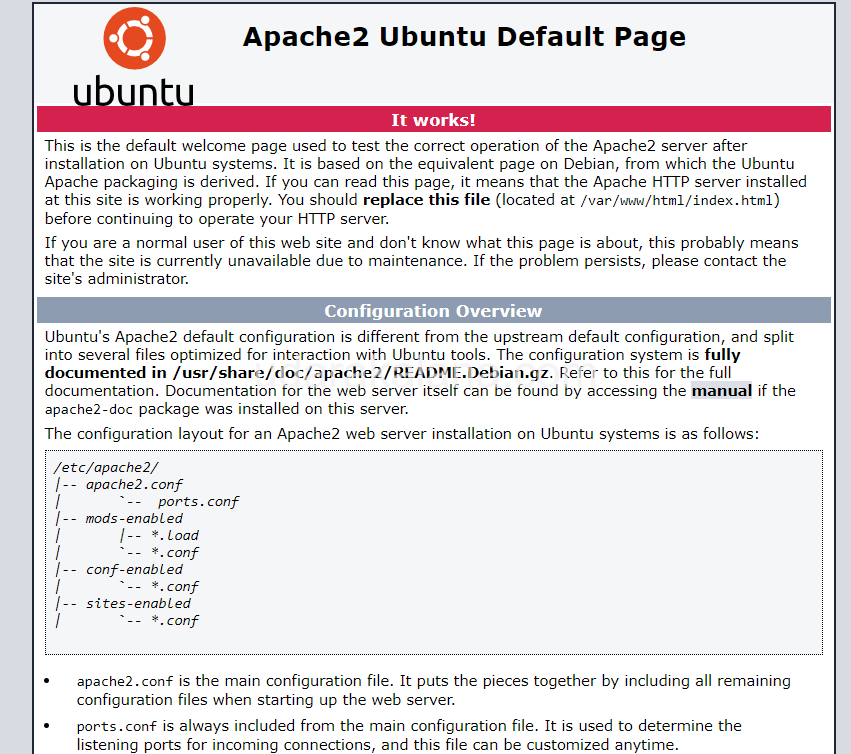
sudo yum install httpdOnce Apache is installed, you can check that it’s running by visiting your server’s IP address in a web browser. You should see an Apache page that confirms that it’s running.
Step 3: Install MySQL
WordPress uses a MySQL database to store your site’s content and settings:
sudo apt-get install mysql-serverAdvertisements
For CentOS:
sudo yum install mariadb-server mariadbStep 4: Create a MySQL database for WordPress
You need to create a new database for your WordPress site:
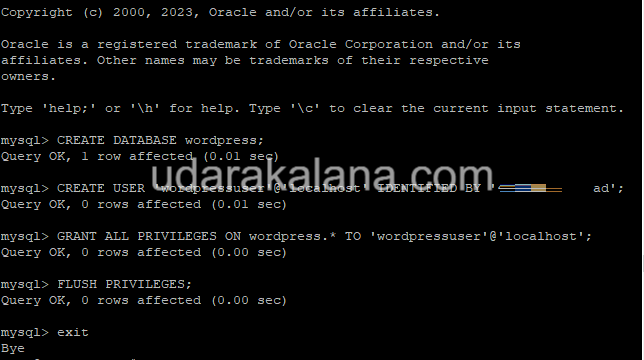
sudo mysql -u root -pEnter the root password and you should be logged in to the MySQL prompt. Once you’re logged in, you can create a new database by running:
CREATE DATABASE wordpress;
CREATE USER 'wordpressuser'@'localhost' IDENTIFIED BY 'password';
GRANT ALL PRIVILEGES ON wordpress.* TO 'wordpressuser'@'localhost';
FLUSH PRIVILEGES;
Make sure to replace password with a strong password for your database user. (you can close the MySQL prompt by typing exit)
if you want to secure MySQL check this: https://udarakalana.com/how-to-install-a-database-server-with-phpmyadmin-and-mysql-on-linux-vps/#3 (only step 3) and get any error like this “Failed! Error: SET PASSWORD has no significance for user 'root'@'localhost' as the authentication method used doesn't store authentication data in the MySQL server” Check this https://udarakalana.com/troubleshooting-mysql-error-set-password-failed-during-mysql_secure_installation-on-linux-vps/
Step 5: Install PHP
WordPress is built with PHP, so you need to install it on your server:
sudo apt-get install php libapache2-mod-php php-mysqlFor CentOS:
sudo yum install php php-mysqlOnce PHP is installed, you can test that it’s working by creating a PHP file in your Apache web root directory:
sudo nano /var/www/html/info.phpIn the editor, paste the following code:
<?php
phpinfo();
?>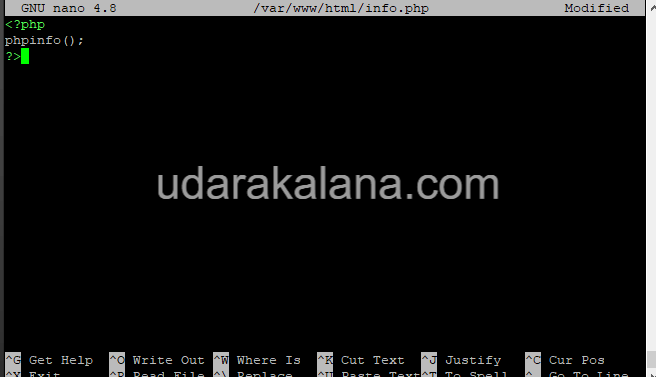
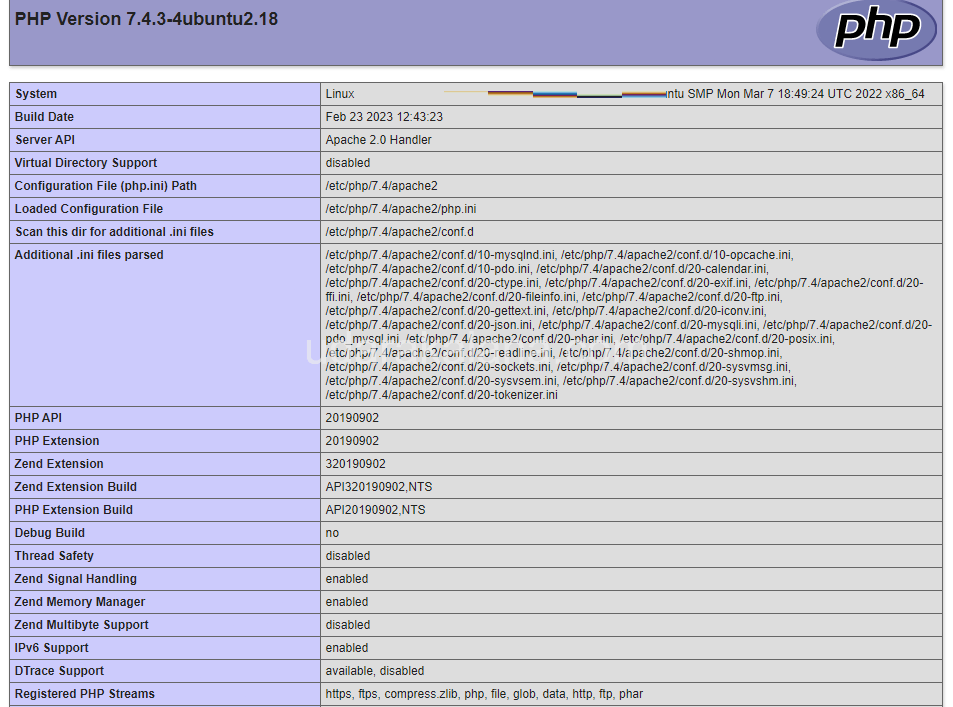
Save and close the file, and then visit http://yourserverip/info.php in your web browser. You should see a page that shows information about your PHP installation.(to remove the info.php file type this command : rm /var/www/html/info.php )
Step 6: Install WordPress
download the latest version of WordPress:
cd /tmp
curl -LO https://wordpress.org/latest.tar.gz
tar xzvf latest.tar.gz
Next, move the WordPress files to your Apache web root directory:
sudo mv /tmp/wordpress/* /var/www/html/Add permissions:
sudo chown -R www-data:www-data /var/www/html/
Then, create a wp-config.php file for WordPress:
cd /var/www/html/
sudo cp wp-config-sample.php wp-config.php
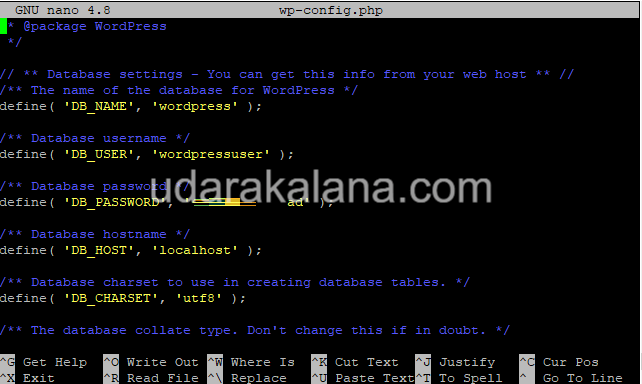
sudo nano wp-config.phpIn the editor, update the following lines with the database details you created in Step 4:
define('DB_NAME', 'wordpress');
define('DB_USER', 'wordpressuser');
define('DB_PASSWORD', 'password');
Save and close the file.
Type this command to remove the index.html file
rm /var/www/html/index.htmlStep 7: Point Domain to the Server
Now that WordPress is installed, you need to point your domain to your server so that visitors can access your site using your domain name. To do this, log in to your domain registrar’s website and update the DNS records for your domain to point to your server’s IP address.
Step 8: Install SSL Certificate
Once your domain is pointed to your server, you can install an SSL certificate to encrypt traffic.
Advertisements
There are several CA’s you can use, such as Let’s Encrypt, which provides free SSL certificates:
sudo apt-get install certbot python3-certbot-apache
sudo certbot --apache -d example.com
Make sure to replace example.com with your domain name. Follow the prompts to generate and install the SSL certificate.

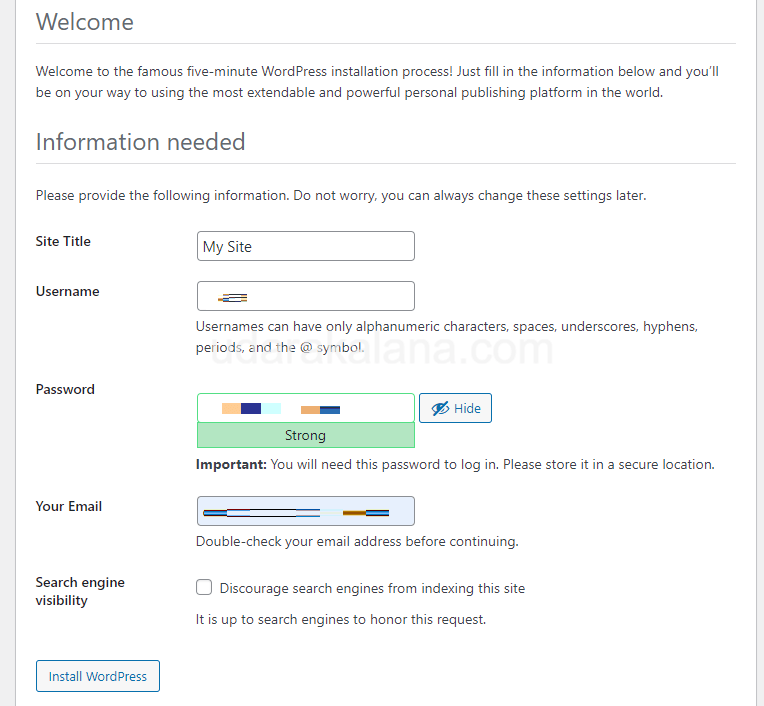
Step 9: Access WordPress
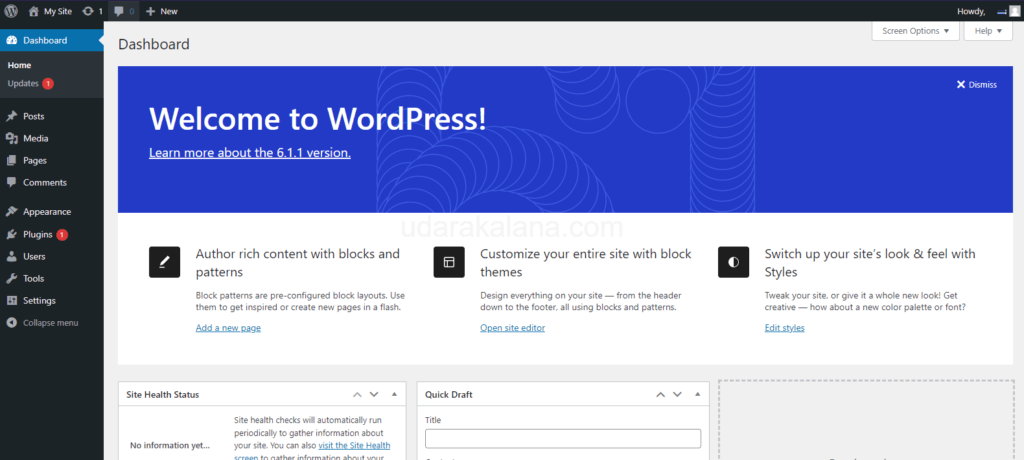
With WordPress installed and your domain pointed to your server, you can now access your WordPress site by visiting your domain name in a web browser. You should see the WordPress setup screen, where you can enter your site name, admin username, and password.
Conclusion
This tutorial showed you how to install WordPress on a Linux server, add a domain, and install an SSL certificate to secure your site. With WordPress, you can create and manage your website easily, and with a domain and SSL certificate, you can ensure that your site is accessible and secure for your visitors.


wow, this website is essential. I would like to appreciate to the owner of the site 🙂