
In this post, I will show you how to use Windows PowerShell to download files and save them to your Windows system.
Table of Contents:
Method 1
Advertisements
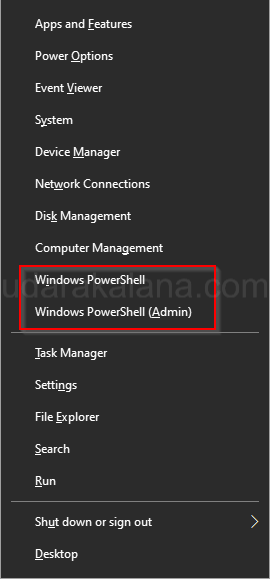
First, open the Windows Powershell. To do that Press Win (windows key) + X and select “Windows PowerShell” or “Windows PowerShell (Admin)” to launch PowerShell.
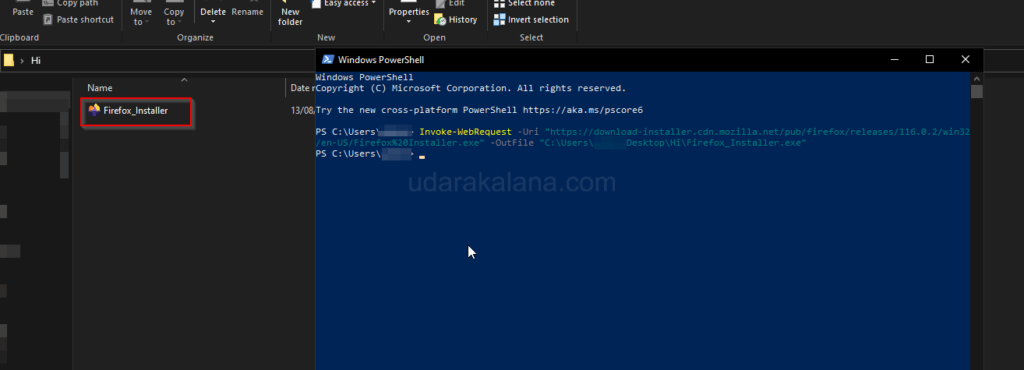
Command structure to start the download:
Invoke-WebRequest -Uri "URL" -OutFile "Path\filename.extension"Replace “URL” with the web address of the file you want to download, and “Path\filename.extension” with the local file directory where you want to save the file.
Hit Enter to execute the command. PowerShell will start the download process and save the file to your location.
Method 2
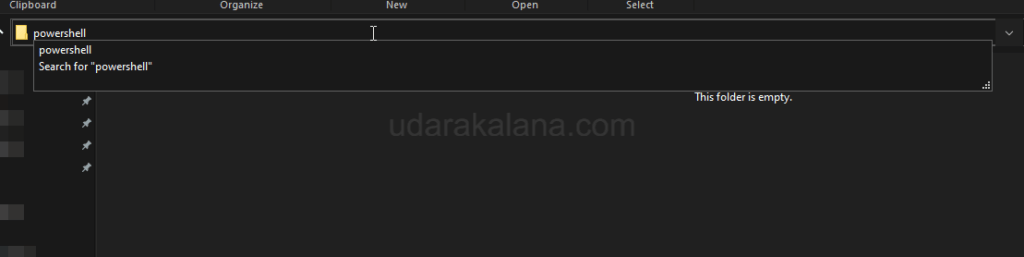
For those who prefer a quicker way, Use the Windows File Explorer to locate the directory where you want to save the downloaded file.
In the directory’s address bar, replace the current path with “powershell” and press Enter. This will open a PowerShell window inside the current directory.
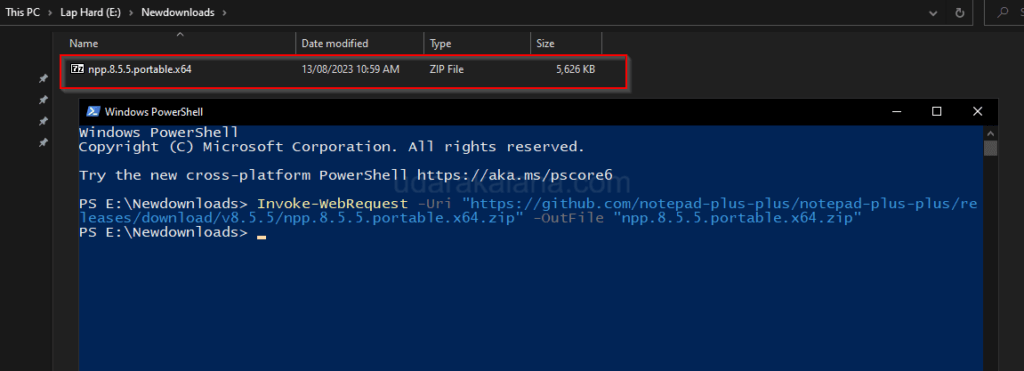
In the PowerShell window, enter the command:
Invoke-WebRequest -Uri "URL" -OutFile "filename.zip"Advertisements
Replace “URL” and “filename.zip” with the name and extension.
Windows PowerShell provides an efficient way to download files directly from the command line and doesn’t want any web browser to download files. if you have any questions about this post please leave a comment…

