
In this post, I will show you how to install a LAMP stack with SSL on your server.
Table of Contents:
- What is LAMP Stack?
- Step 1: Connect to your Linux Server
- Step 2: Update System Packages
- Step 3: Install Apache
- Step 4: Install MySQL
- Step 5: Secure MySQL Installation
- Step 6: Install PHP
- Step 7: Test PHP
- Step 8: Set Up SSL
What is LAMP Stack?
LAMP stack stands for Linux, Apache, MySQL, and PHP. It refers to a popular stack used for hosting web applications. Linux is the operating system, Apache is the web server, MySQL is the database management system, and PHP is the programming language.
Step 1: Connect to your Linux Server
Step 2: Update System Packages
Update the system packages:
sudo apt updateThen, run:
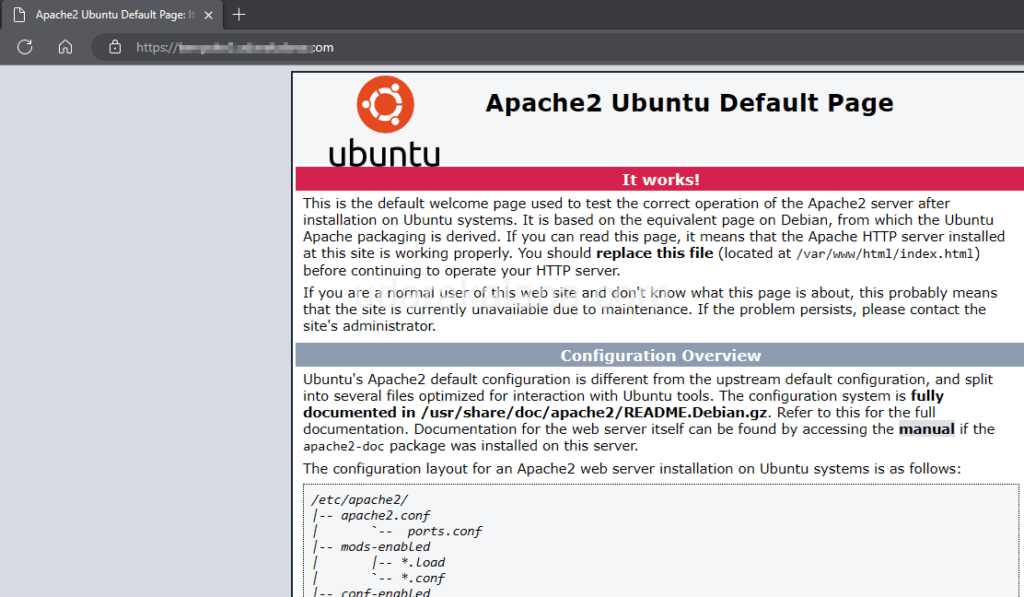
sudo apt upgradeStep 3: Install Apache
sudo apt install apache2Start the Apache and enable it to start automatically on boot:
sudo systemctl start apache2
sudo systemctl enable apache2
Advertisements
Step 4: Install MySQL
Run the command to install MySQL:
sudo apt install mysql-serverstart and set on boot:
sudo systemctl start mysql
sudo systemctl enable mysql
Step 5: Secure MySQL Installation
For security of your MySQL installation, remove unnecessary default settings:
sudo mysql_secure_installationThis will prompt you to answer some questions and make configuration choices to secure your MySQL installation, such as disabling remote root login, removing anonymous users, remove test database.
You can use these commands to create a database(optional):
sudo mysql -u root -pCREATE DATABASE mydatabase;
CREATE USER 'mydbuser'@'localhost' IDENTIFIED BY 'password';
GRANT ALL PRIVILEGES ON mydatabase.* TO 'mydbuser'@'localhost';
FLUSH PRIVILEGES;Make sure to replace the DB name, DB username, and password.
- database name: mydatabase.
- database username mydbuser
- database password: password
Step 6: Install PHP
Install PHP along with some commonly used modules:
sudo apt install php libapache2-mod-php php-mysqlRestart Apache for the PHP module to be loaded:
sudo systemctl restart apache2Step 7: Test PHP
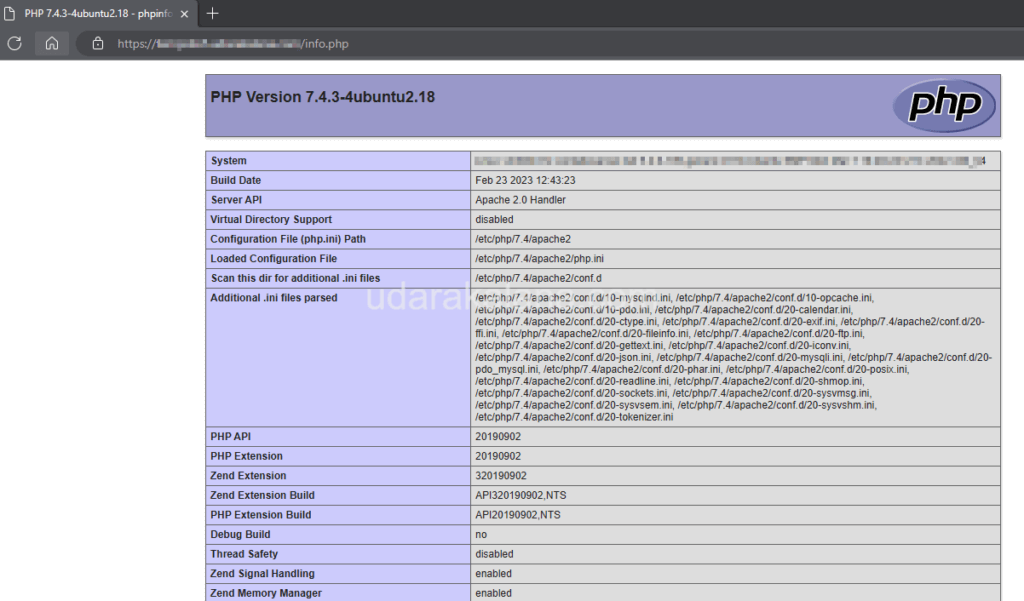
To test if PHP is working correctly with Apache, create a PHP info page. Create a new file in the Apache document root directory:
sudo nano /var/www/html/info.phpThis will open a text editor. add code to the file:
<?php
phpinfo();
?>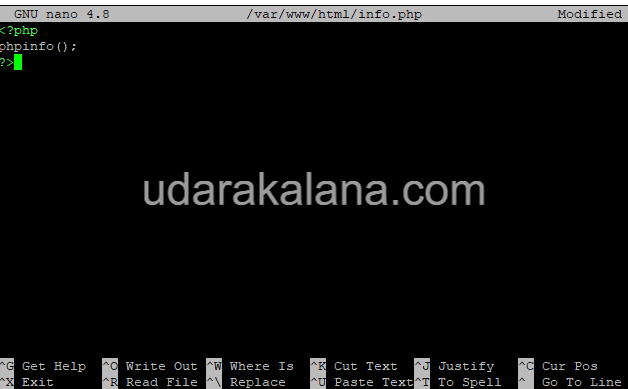
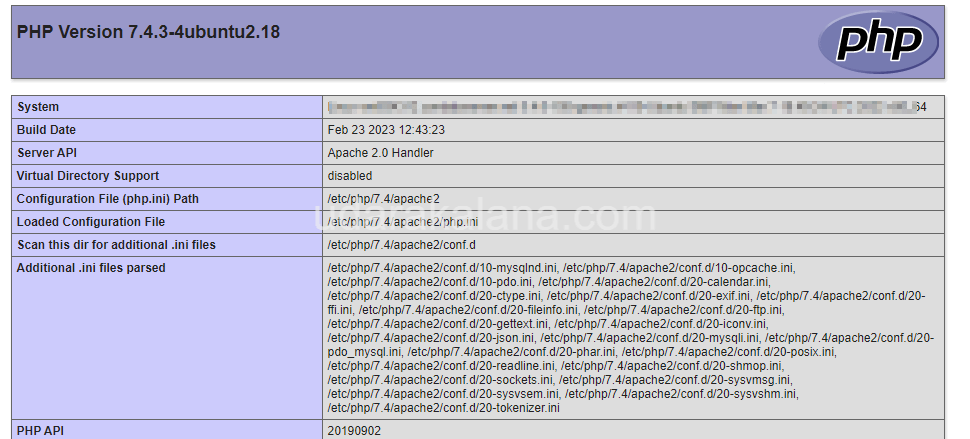
Save and close the file. Then, access the PHP info page in a web browser by entering your VPS IP address or domain name, followed by “/info.php”. You should see a page containing detailed information about your PHP installation, confirming that PHP is working correctly with Apache.
Remeber to remove the info.php file after testing sudo rm /var/www/html/info.php
Step 8: Set Up SSL
Make sure you have the following:
- A domain name or subdomain pointing to the IP address of your server
Lastly, we’ll set up SSL. install the Let’s Encrypt, which provides free SSL certificates:
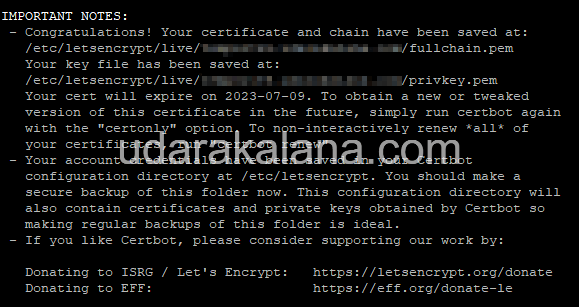
sudo apt install certbot python3-certbot-apacheGet an SSL certificate for your domain:
sudo certbot --apacheThis will guide you to generate and install an SSL certificate using the Apache plugin. You’ll need to provide your domain name, email address, and agree to the terms of service.
Configure Apache to use SSL. You can do this by editing the Apache configuration file:
sudo nano /etc/apache2/sites-available/default-ssl.confIn the configuration file, update the following lines to specify the path to your SSL certificate and private key files:
SSLCertificateFile /etc/letsencrypt/live/your_domain_name/fullchain.pem
SSLCertificateKeyFile /etc/letsencrypt/live/your_domain_name/privkey.pem
Advertisements
Save and close the file. Then, enable the SSL module and the default-ssl site:
sudo a2enmod ssl
sudo a2ensite default-ssl
Finally, restart Apache for the changes to take effect:
sudo systemctl restart apache2Now You have successfully set up a LAMP stack with Apache, MySQL, PHP, and SSL on your Linux server. Your web server is now secured with SSL.


i cant enter the password:
Failed! Error: SET PASSWORD has no significance for user ‘root’@’localhost’ as the authentication method used doesn’t store authentication data in the MySQL server
Hello, Check this post : https://udarakalana.com/troubleshooting-mysql-error-set-password-failed-during-mysql_secure_installation-on-linux-vps/#3
Thanks brother also super clean blog !