
In this post, I will show how to install PHPMyAdmin, MySQL, Apache, and PHP. By the end of this post, you will have a fully functional database server on your server.
Table of Contents:
- Step 1: Update the system
- Step 2: Install MySQL
- Step 3: Secure MySQL
- Step 4: Install Apache2 and PHP
- Step 5: Install PHPMyAdmin
- Conclusion
Step 1: Update the system
Before installing any new software, it is always a good practice to update the system:
sudo apt-get update && sudo apt-get upgradeStep 2: Install MySQL
Install MySQL on your server:
sudo apt-get install mysql-serverDuring the installation process, you will be prompted to set a password for the MySQL root user. Make sure to choose a strong password and keep it safe.
Advertisements
Start the MySQL service:
sudo systemctl start mysqlMake MySQL to start automatically at boot time:
sudo systemctl enable mysqlIf you are running the commands as the root user, you will not be prompted to set a password for the MySQL root user during the installation process. In that case, you can set the password manually:
sudo mysql -u rootyou may ask to provide the password for root user just press enter if you are in root.
ALTER USER 'root'@'localhost' IDENTIFIED WITH mysql_native_password BY 'your_password';Replace ‘your_password’ with your password for the MySQL root user. Choose a strong password and keep it safe.
After setting the password, you can exit MySQL:
exitStep 3: Secure MySQL
By default, MySQL installation is not secure. To secure your MySQL installation:
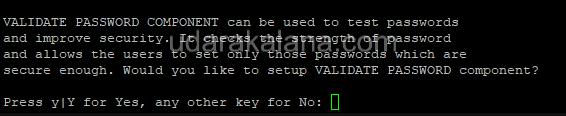
sudo mysql_secure_installationYou will be prompted to answer a few questions. Make sure to remove anonymous users, disallow root login remotely, remove test database, and reload privileges.


Step 4: Install Apache2 and PHP
To run PHPMyAdmin, you will also need to install Apache2 and PHP on your server. Here are the steps to install them
Install Apache2:
sudo apt-get install apache2Install PHP and some commonly used extensions:
sudo apt-get install php libapache2-mod-php php-mysql php-gd php-cliVerify that PHP is installed correctly:
php -vThis should display the version of PHP installed on your system.
Step 5: Install PHPMyAdmin
Now that you have installed MySQL, Apache2, and PHP, you can proceed with the installation of PHPMyAdmin
Install PHPMyAdmin:
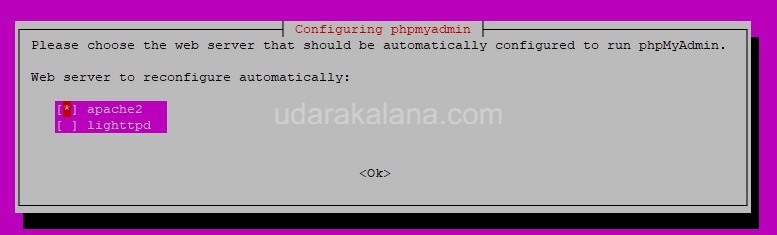
sudo apt-get install phpmyadminDuring the installation process, you will be prompted to choose the web server that should be automatically configured to run PHPMyAdmin. Choose Apache2 by pressing the space bar, then press Enter to continue.
Advertisements
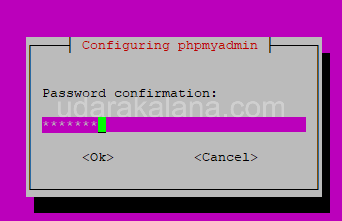
Next, you will be prompted to configure the database for phpMyAdmin Choose “Yes”.


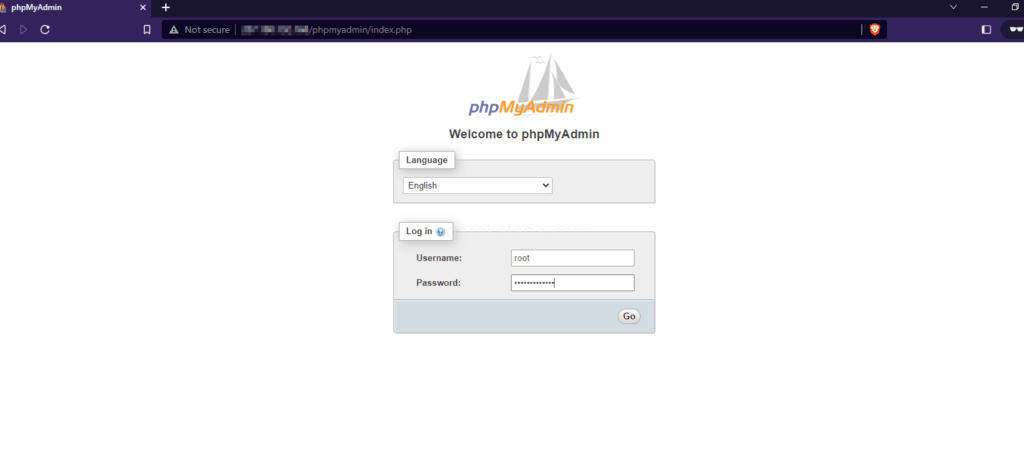
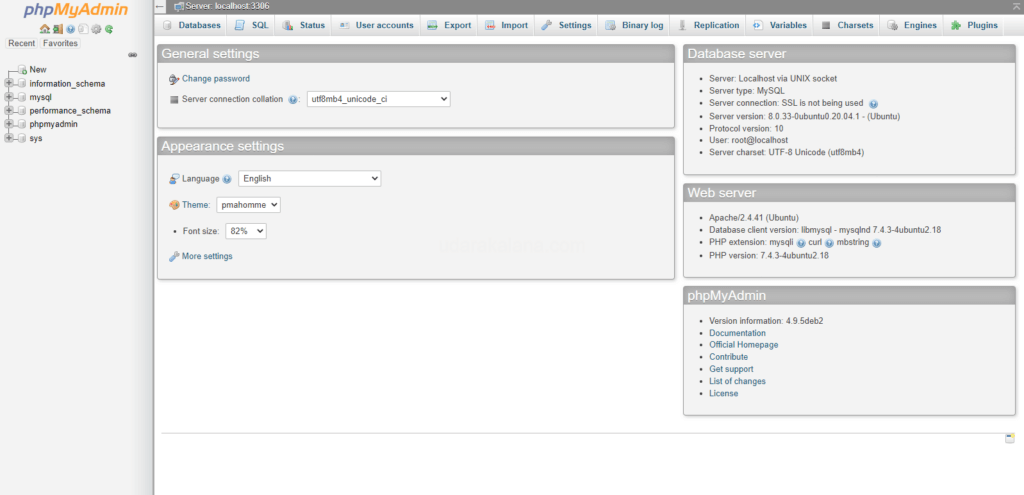
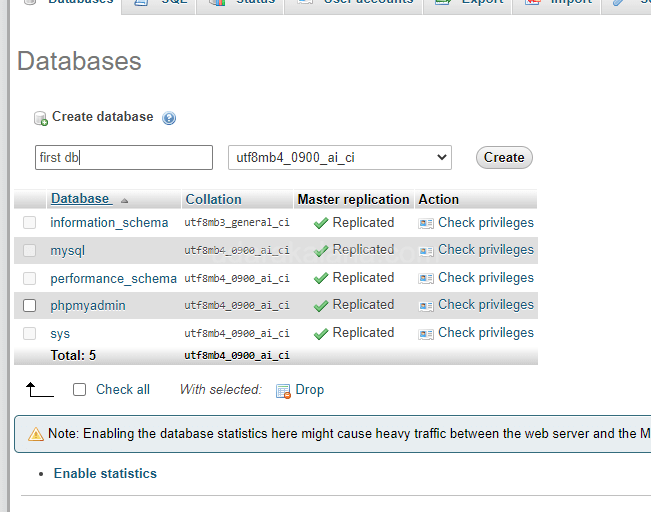
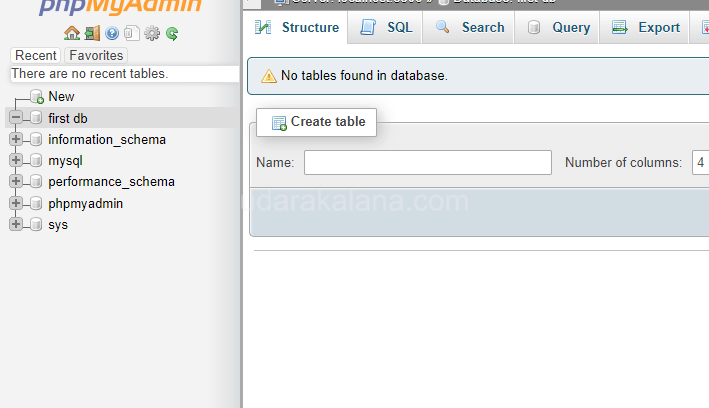
After the installation is complete, you can access phpMyAdmin by going to http://your_server_ip/phpmyadmin in your web browser. Log in with the MySQL root user and password (password added in step 2 and username root).
Conclusion
Setting up a database server on a Linux server can seem intimidating at first, but by following this post, you should be able to get up and running with PHPMyAdmin, MySQL, and PHP in no time.


