Virtualmin is a popular open-source web hosting control panel that allows you to manage multiple web hosts, email accounts, and databases from a single interface. In this post, am going to show you how to install Virtualmin on a Linux server.
Table of Contents:
- What is Virtualmin?
- Step 1: Update System Packages
- Step 2: Install Required Dependencies
- Step 3: Download and Install Virtualmin
- Step 4: Access Virtualmin
- Conclusion
What is Virtualmin?
Advertisements
Virtualmin is an open-source web hosting control panel. supports multiple web servers, including Apache, Nginx, and Lighttpd, and provides a variety of features, such as domain management, DNS configuration, backup and restore functionality, and more. It also includes a set of tools for managing email, FTP, and user accounts, as well as monitoring and logging tools to help you troubleshoot issues and optimize your server’s performance.
Virtualmin is compatible with most popular Linux distributions, including Ubuntu, Debian, and CentOS.(more details about support os) It’s free to use and has an active community of developers and users who contribute to its ongoing development and support.
Follow these simple steps to install Virtualmin on your Linux server (please select a fresh server for this).
Step 1: Update System Packages
Before installing Virtualmin, make sure your system packages are up to date:
sudo apt-get update && sudo apt-get upgradeStep 2: Install Required Dependencies
Virtualmin requires several packages to be installed on your system:
sudo apt-get install -y wget curl perlStep 3: Download and Install Virtualmin
Download the Virtualmin install script using the wget command:
wget http://software.virtualmin.com/gpl/scripts/install.shMake sure it’s executable:
sudo chmod +x install.shNow run the script:
sudo ./install.sh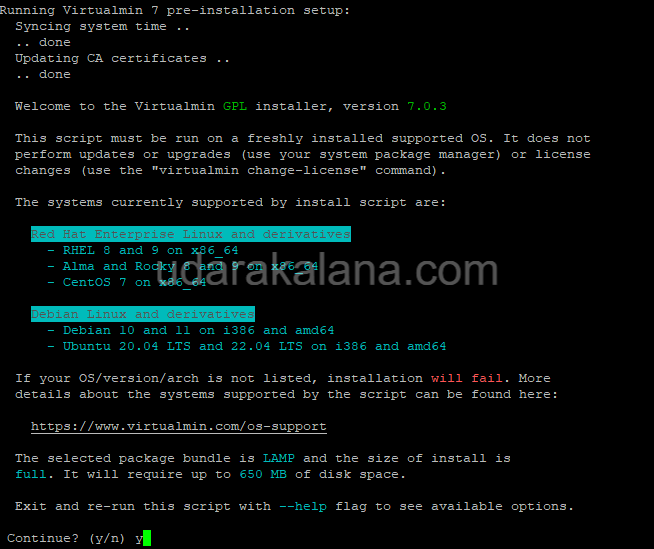
Step 4: Access Virtualmin
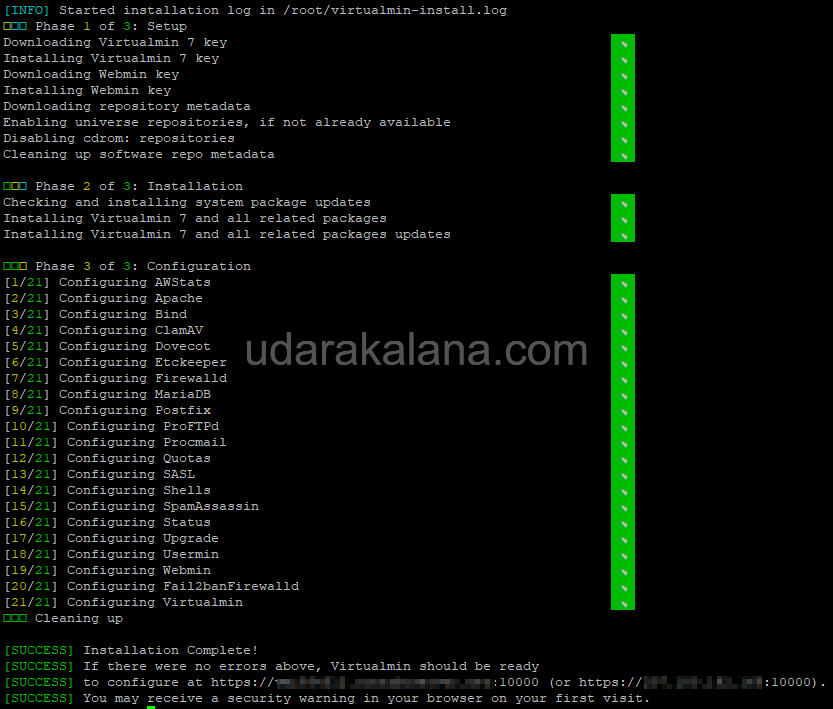
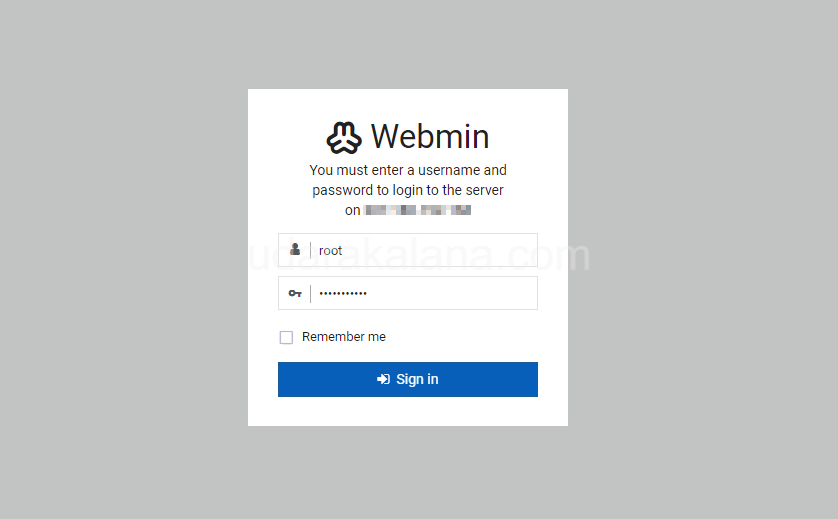
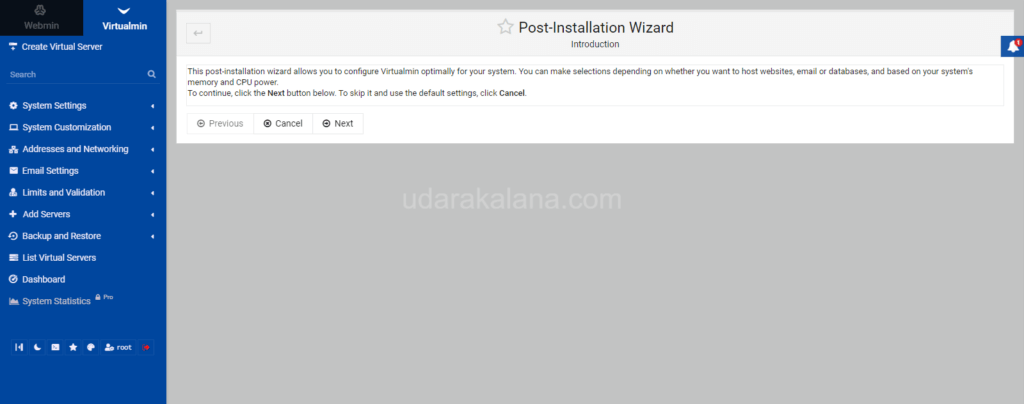
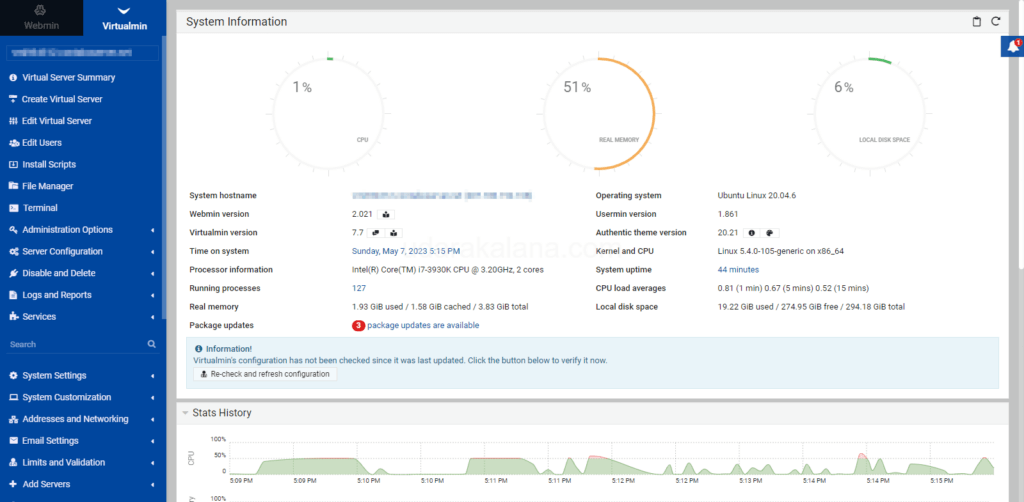
Once the installation is complete, you can access Virtualmin by going to https://your-server-ip:10000 in your web browser. Log in using your system’s root username and password.
Conclusion
Advertisements
In this post, I have provided a step-by-step guide to help you install Virtualmin on your Linux server. By following these simple steps, you can get up and running with Virtualmin in no time.
I hope you found this guide helpful and that you’re now able to manage your Websites with Virtualmin. If you have any questions or comments, please feel free to leave them below.


