in this post, I’ll show you how to create a WordPress site backup using Updraft’s free version So, let’s get started!
Advertisements
Table of Contents:
- Step 1: Install and Activate Updraft Plugin
- Step 2: Configure Updraft Plugin
- Step 3: Create Backup
- Step 4: Download Backup
Step 1: Install and Activate Updraft Plugin
- Log in to your WordPress dashboard and go to the “Plugins” section.
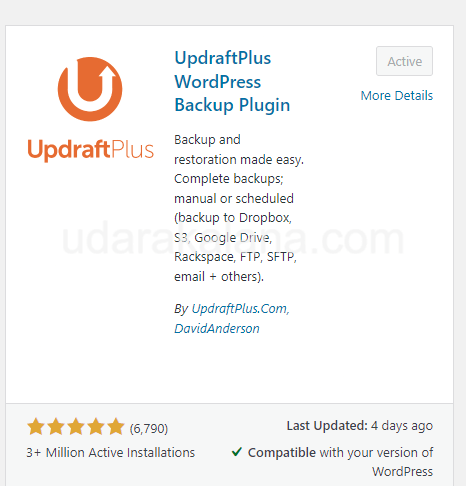
- Click on “Add New” and search for “Updraft” in the search bar.
- Click on “Install Now” next to the Updraft plugin, and then click “Activate” after installation is complete.

Step 2: Configure Updraft Plugin
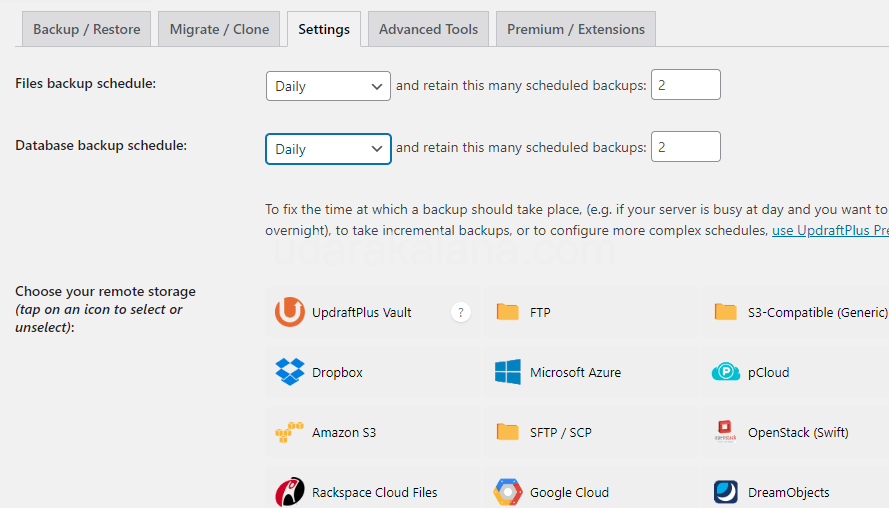
- Go to “Settings” in your WordPress dashboard and click on “Updraft”.
- Select your preferred backup settings.
- Click on “Save Changes” to apply your settings.

Step 3: Create Backup
- Go to “Settings” in your WordPress dashboard and click on “Updraft”.
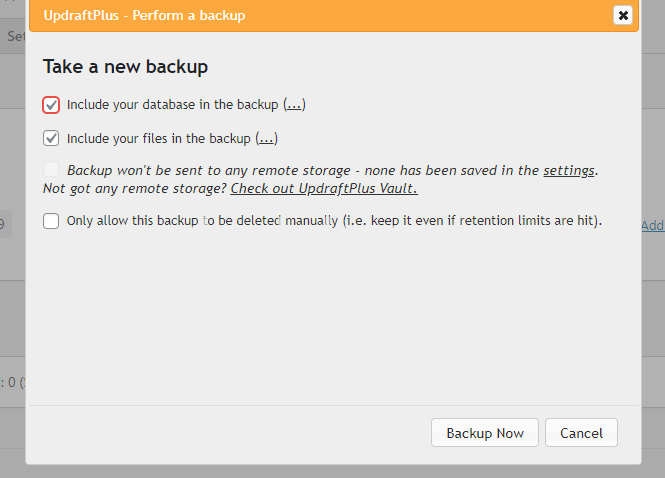
- Click on the “Backup Now” button to start the backup process.
- Wait for the backup process to complete. The time it takes to complete the backup process depends on the size of your website.


Step 4: Download Backup
- After the backup process is complete, click on the “Existing Backups” tab in the Updraft settings.
- Find the backup you just created and click on the “Download” button.
- Choose where you want to save the backup file on your computer.

Now that you’ve learned how to backup your WordPress website using Updraft’s free version plugin, you can rest easy knowing that your website’s content and data are secure.
Advertisements
If you have any questions or comments, feel free to leave them below. Also, don’t forget to share this post with your fellow WordPress website owners who might find it helpful!


