
In this post, I’ll show you how to add a preloader to your WordPress site using the Preloader Plus plugin.
Table of Contents:
- Step 1: Install and Activate Preloader Plus Plugin
- Step 2: Go to Preloader Plus Settings
- Step 3: Configure Preloader Plus Plugin
- Step 4: Save Changes and Test Preloader
- Conclusion
Step 1: Install and Activate Preloader Plus Plugin
Advertisements
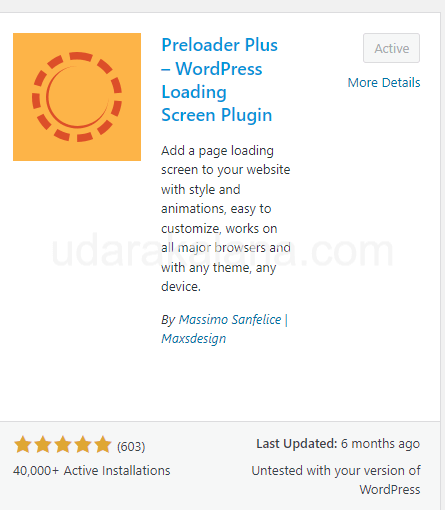
The first thing you need to do is install and activate the Preloader Plus plugin. To do this, go to your WordPress dashboard, click on “Plugins” and then “Add New”. In the search bar, type “Preloader Plus” and press enter. Click on “Install Now” and then “Activate” to activate the plugin.
Step 2: Go to Preloader Plus Settings
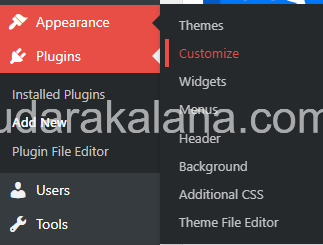
Go to your WordPress dashboard, click on “Appearance” and then “Customize”. In the left-hand menu, you’ll see a “Preloader Plus” option. Click on it to open the Preloader settings.
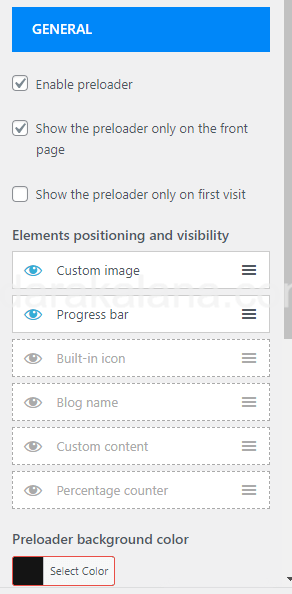
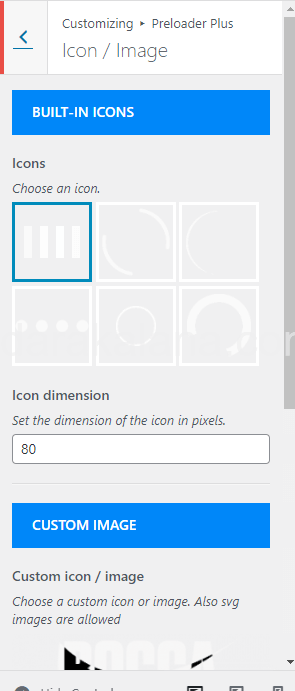
In the Preloader settings, you can choose the preloader animation you want to use. There are several preloader animations to choose from, including circles, dots, and bars. You can also customize the color of the preloader animation to match your site’s color scheme.
Step 3: Configure Preloader Plus Plugin
In addition to customizing the animation, you can also configure the plugin to display the preloader on home page or even the entire site.
Step 4: Save Changes and Test Preloader
Advertisements
Once you’ve configured the Preloader plugin to your liking, be sure to click the “Save & Publish” button to save your settings. Then, visit your site to test the preloader. You should see the preloader animation displayed while your site is loading.
Conclusion
By following the simple steps outlined in this post, you can have a preloader added to your site in no time. If you have any questions or comments, feel free to leave them below. Thanks for reading!


